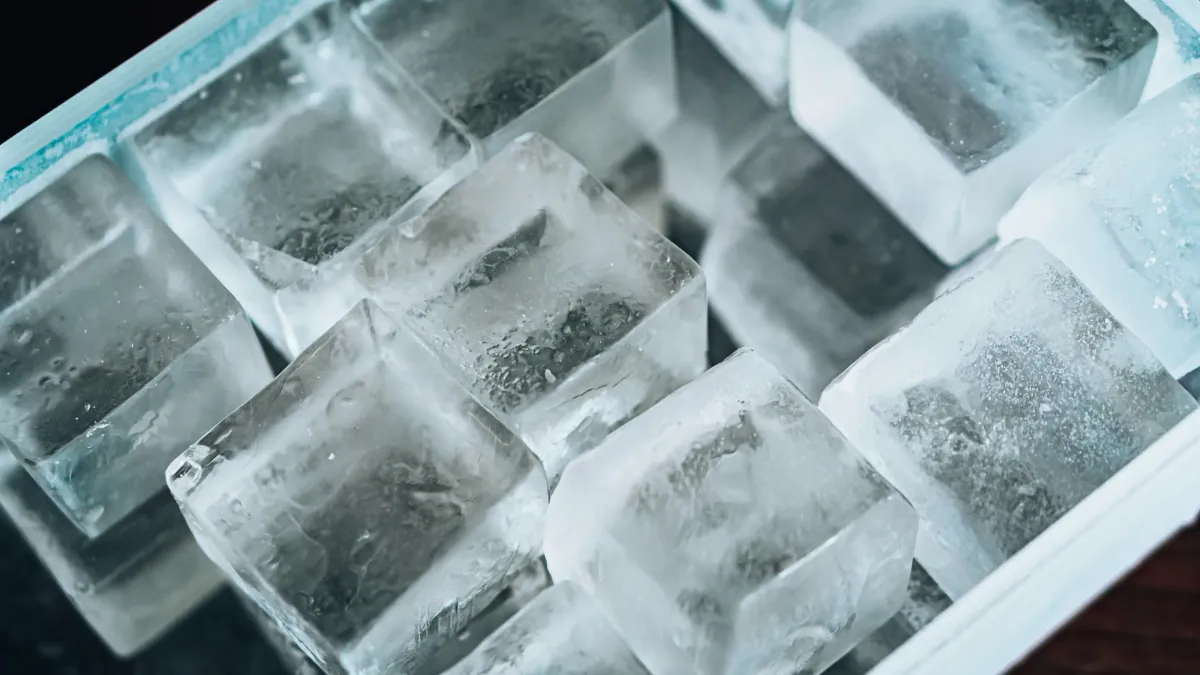
How to make clear ice cubes at home (step-by-step guide)

Learn how to make clear ice cubes at home with a simple directional freezing method. Avoid cloudy ice, improve your cocktails, and create bar-quality ice using basic tools. No expensive machine or tools required.

Clear ice cubes made at home. No cloudy parts.
A guaranteed way to get clear ice cubes for your drink.

Make clear ice cubes at home – how does it work?

You’ve probably often wondered how to make clear ice cubes at home. You see them in adverts, Hollywood films and good bars: those ultra-clear cubes in cocktails and drinks that look almost like crystal glass. Years ago, I asked myself the same question—how can I make clear ice at home? I tried a lot of questionable advice from the internet. If you don’t want to buy an expensive ice machine, here’s a simple solution for making clear ice yourself.

Why do homemade ice cubes turn cloudy instead of clear?

Ice cubes made in a standard freezer are often just white, cloudy lumps. But why is that? Some say it’s due to limescale in the water, which may be true to a very small extent—but not enough to cause this level of cloudiness.

If you look closely, you’ll see that ice cubes are full of tiny microbubbles. These distort and scatter light, making the ice appear white and opaque rather than clear.

The myth of boiling water for clear ice

A common recommendation online is to boil water before freezing it. The idea is that boiling removes dissolved gases from tap water. You might recognise this from a glass of tap water left overnight—small bubbles form along the edges as pressure is released.

Long story short: even if you boil water multiple times, the results are only moderately better—and it comes with a high energy cost. Not recommended. That said, boiled water can help when combined with the method below.

Filtering water is also often suggested as a miracle solution. Feel free to filter your water—but don’t expect perfectly clear ice cubes from that alone.

A schematic of the freezing process of water with regular and directional freezing in comparison.

Cloudy vs. directional freezing when making clear ice cubes at home

The secret: directional freezing

Freezing like in nature

Icicles are beautifully clear. Lakes freeze over clearly as well. So it makes sense to take a closer look at how this works. A lake freezes from one side only—from the top. The air is cold, the water below is slightly warmer. A thin layer of ice forms on the surface. This layer is so thin that air bubbles are not trapped—they remain beneath it.

Then the next thin layer freezes, and the next. The ice gradually grows from the top down. Air bubbles can always escape below the ice and are not trapped.

Why freezer ice turns cloudy

Standard ice cube trays don’t replicate this principle. In the freezer, cold surrounds the water from all sides, freezing it from the outside in. Air bubbles get trapped in the centre—creating that cloudy appearance.

The solution: an insulated ice mould

To make clear ice at home, your water needs to freeze from one direction only. You can achieve this by using an insulated container that is open at the top. This allows the cold from the freezer to act on the water from one side.

One thing to note: just like a lake, you won’t get 100% clear ice. At some point, air bubbles will collect at the bottom because they can’t escape any further. Also, after around 24 hours, most insulated containers will eventually let cold in from all sides. From that point on, the remaining water freezes cloudy. You only want to use the clear portion formed before that.

What you need to make clear ice cubes

1. A well-insulated container

Depending on the size of your freezer, a small cooler works perfectly. The inside is waterproof and easy to clean—ideal for this purpose. Insulation quality varies: the better the insulation, the better your results.